Adding an iOS Launch Screen to Your App in Swift - iOS Tutorial
In this detailed tutorial, we are taking a look at how you can add and customize an iOS launch screen in your iOS app and why it's important to take your launch screen design seriously. The task itself is not difficult, and I'll assume you are writing your iOS app in Swift, using Xcode.
Note: If you come from an Android/React Native background, you might have used "splash screen" to describe this app starting screen. Apple prefers "Launch Screen", which is what we're going to use in this article.
What is an iOS Launch Screen and Why It's Important?
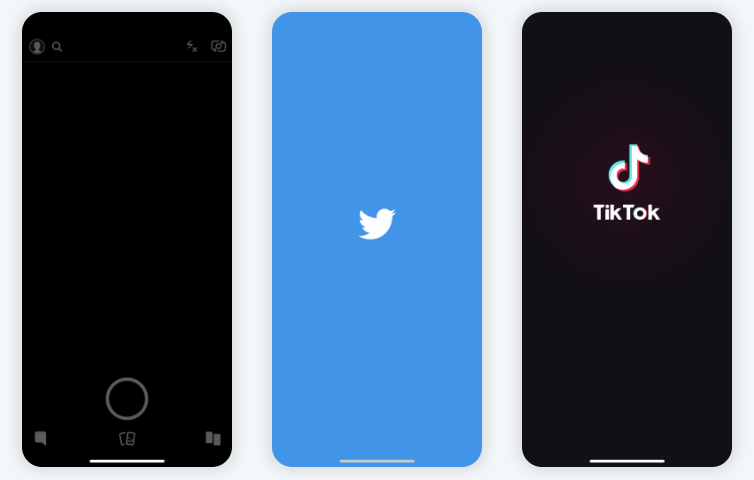
For developers and entrepreneurs who are new to mobile development and haven't heard of the term "Splash Screen", here's a brief description about what it is. The launch screen is the first screen a user sees when they open an application on their iPhone/iPad. It's usually displayed for a couple of seconds, and it disappears right when the main screen is loaded. Let's take a look a few well-known apps and what their iOS Launch screen looks like.
The primary goal of the launch screen is to inform the users that the app is loading and it will be available soon. From a technical perspective, the operating system launches the app and because it takes a while until everything is ready, the splash screen is shown first, to provide a great user experience. This process is also known in the iOS development industry as "cold start".
Mega Bundle Sale is ON! Get ALL of our React Native codebases at 90% OFF discount 🔥
Get the Mega BundleHow to Add A Splash Screen in Your iOS App?
Any Xcode project comes with a default iOS Launch Screen, so if you've created your Swift app using one of Xcode's default template project, you already have a splash screen. Apple made it extremely easy to add a launch screen in Xcode and there's no coding required to achieve that. You only need to make a few configuration changes in Xcode, which we are listing below.
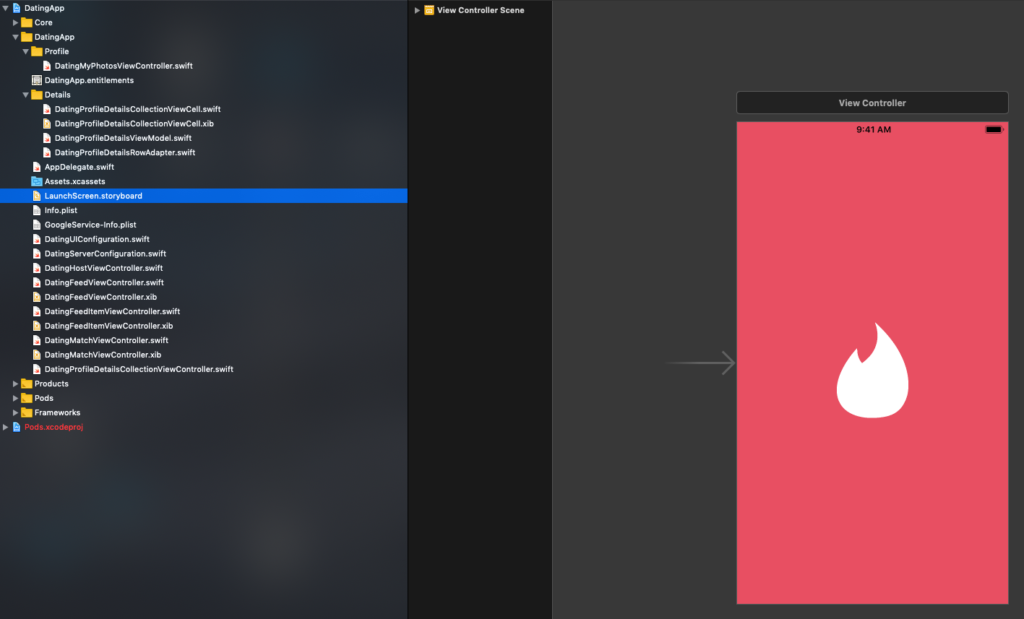
Xcode automatically adds a splash screen to any new Swift project. By default, it's named "LaunchScreen.storyboard" and it is indeed a storyboard. This means you can use Interface Builder to customize it as much as you want, by drag and drop. Here's an example of how the splash screen of our Dating App Template looks like:
To use a custom storyboard for your Launch Screen in Swift, you can simply open Info.plist file and change the value of the UILaunchStoryboardName field. The property list description for that key is "Launch screen interface file base name", in case you open the file as a property list. Just change the value of this key, and make sure you don't include the .storyboard suffix.
In this storyboard, you can use all the Interface Builder elements that you like. The general guidance from Apple is to keep the iOS Launch Screen as simple as possible, so I don't recommend using more than your brand logo, some text, and background color. Note that you can use any image that you've previously added to a .xcassets folder in Xcode.
Mega Bundle Sale is ON! Get ALL of our React Native codebases at 90% OFF discount 🔥
Get the Mega BundleiOS Launch Screen Best Practices
Design your iOS Splash Screen to be simple and clean
The launch screen is literally the first screen a user sees in your app. While this should definitely have a great design, you need to keep in mind that its functionality should be basic. Displaying only a few visual elements, such as a logo, band name, and a value proposition copy is highly recommended. In fact, having all three is too much. Take a look at the examples above – try to only show your logo.
You can't run any code before and while the splash screen is displayed, so by definition you can't complicate it too much. Make sure it's beautiful and it represents the heart of your app.
Boost the perceived performance by optimizing your Launch Screen
You want your iOS app to be fast. Cold start optimization is a widely known problem in the iOS development community. The time it takes for your app to start is extremely important, since you don't want to frustrate users in the first 2 seconds they open your application.
By leveraging the splash screen, you can improve the user's perception of app performance. Here's a pro-tip on how: Make your splash screen look exactly like your first main screen (that's the first view controller your app is showing). With this trick, users will feel the app is loading much faster. For example, take a look at Snapchat's iOS launch screen above – it shows the camera screen for a split second, which is the first main screen Snapchat app lands on. Well, in most of the cases, for the logged-in users. Nice growth hack, Snapchat!
Twitter is also doing a nice spinner animation, which certainly delights users opening the app for the first time and it makes the waiting time better spent.
Optimize your Swift Launch Screen for all device orientations
Needless to say, you have to keep in mind all the supported device orientations. So make sure you test properly all the possible scenarios. You don't want your first app impression to be a mispositioned logo image on the screen since that's an instant turn off for users.
Looking for a custom mobile application?
Our team of expert mobile developers can help you build a custom mobile app that meets your specific needs.
Get in TouchConclusion
The iOS Launch Screen is the first interaction of your users with your mobile application. The first impression is extremely important so investing in having a greatly designed splash screen is highly recommended. There's no coding required to customize a splash screen since it's a storyboard, created by default as part of a new project in Xcode. So you can use the Interface Builder to build a nicely designed iOS launch screen, optimized for mobile growth.