Store Locator App in Swift with Firebase
Did you just download our Store Locator App in Swift? Let’s get you up and running. You’ll run the app in Xcode, link your Firebase backend and add categories, filters, and stores.
Quick start
- Run the project in Xcode — https://www.iosapptemplates.com/docs/getting-started-with-swift/running-swift-apps-in-xcode/
- Link your Firebase backend — https://iosapptemplates.com/docs/firebase-integration/
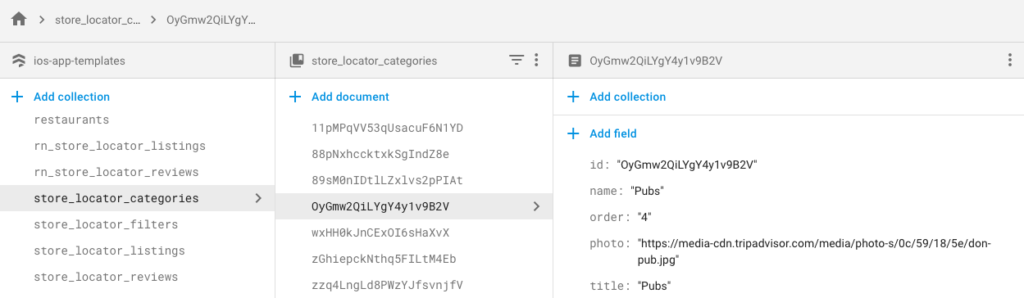
3. Add your store categories
Go to Firebase Console → Database → Cloud Firestore and create a collection named store_locator_categories. Each category should include id, title, name, and photo (URL to image). Ensure the document ID matches the id field.
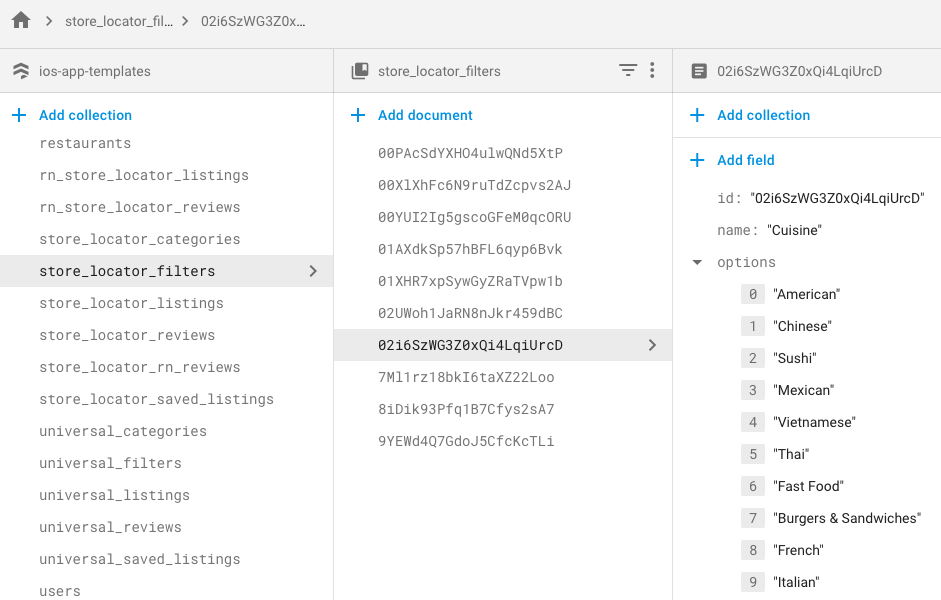
4. Add your filters
Add a collection store_locator_filters. For each filter include id, name, and options (array of strings).
5. Add your store listings from the app
After categories and filters are set, open the app, log in, and press the compose button to add listings. Each listing creates a document in store_locator_listings.

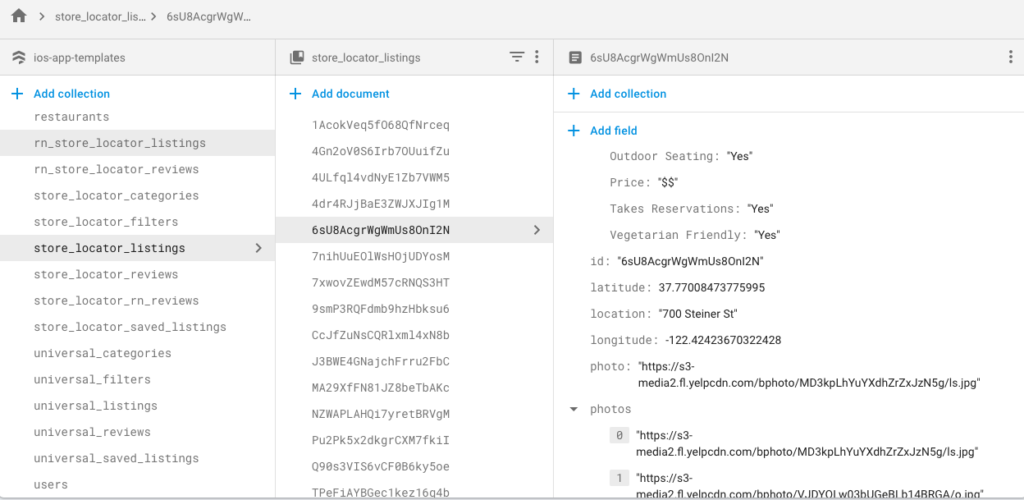
You can modify fields as needed; do not rename keys or the app may break. When ready, publish the app to the App Store from Xcode.