Real Estate iOS App Template
So you’ve purchased our Real Estate iPhone App Template (or you are looking to buy it), and now it’s time to personalize it for your real estate business. This guide explains how to run the project, connect it to your Firebase backend, add categories, filters and property listings, and publish to the App Store.
Overview
High-level steps:
- Create a Firebase project
- Add categories, filters and listings to Cloud Firestore
- Wire your Firebase database to the app
- Publish the app to the App Store
1. Run the iOS app template in Xcode
Install CocoaPods, open the .xcworkspace in Xcode and run the project. For a step-by-step walkthrough see: https://www.iosapptemplates.com/xcode-projects-run-app-templates
2. Link the app to your Firebase account
Replace GoogleService-Info.plist with your Firebase config. Follow this integration guide if needed: https://www.iosapptemplates.com/firebase-swift-app-integration-ios
3. Add Your Real Estate Data
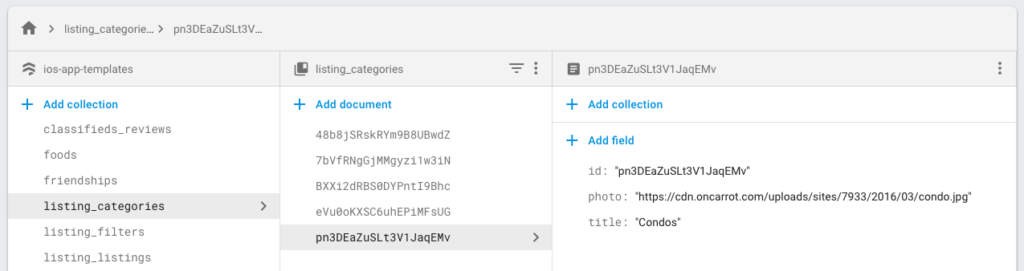
3.1 Add Your Categories
Create a collection named listing_categories in Cloud Firestore and add documents with fields id, photo, title.
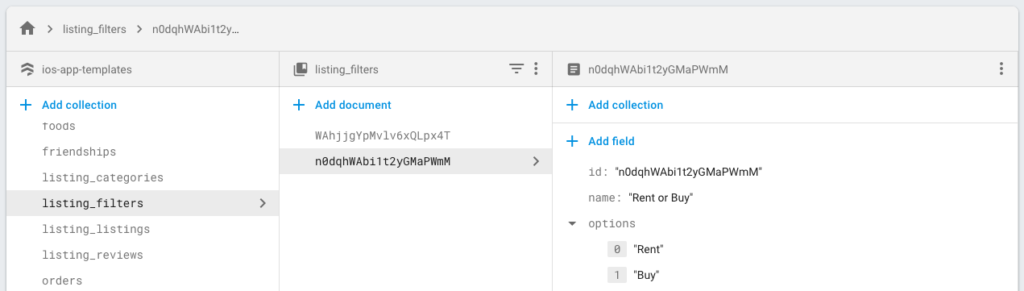
3.2 Add Your Filters
Create a collection named listing_filters with fields id, name, and options (array of strings).
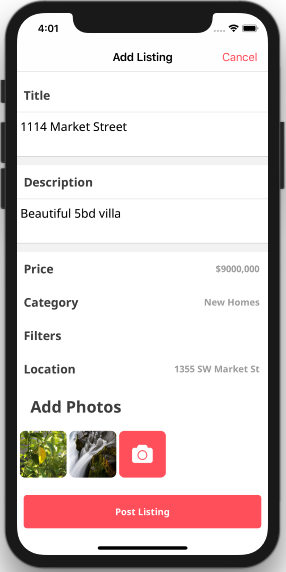
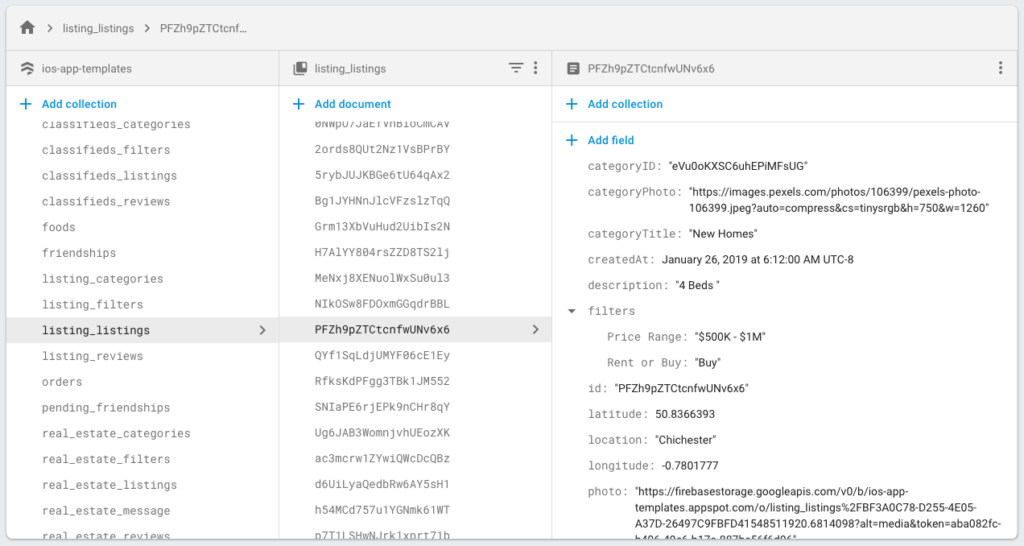
3.3 Add Your Property Listings
Run the app and use the compose button to add listings; this creates documents in listing_listings.
4. Customizations
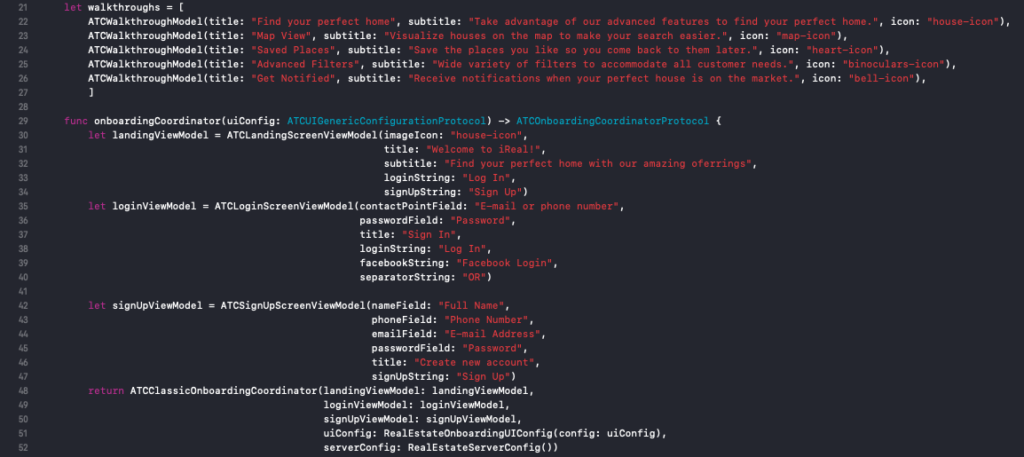
Change which category the home grid shows by editing ListingApp/RealEstateSettingsProvider.swift.

Change colors, fonts and icons in Core/Listing/Themes/Airbnb/ATCListingUIConfiguration.swift.

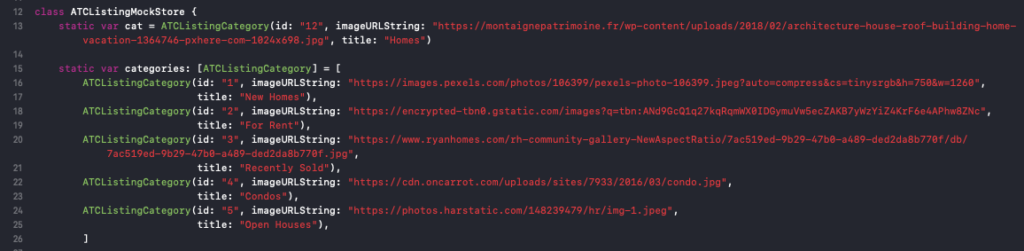
To disable Firebase and use static mock data, set isFirebaseDatabaseEnabled and isFirebaseAuthEnabled to false in RealEstateSettingsProvider.swift.
Once you finish adding data and customizations, submit the app to the App Store from Xcode.