Stripe Payments
Now that you have a fully working app, integrated with your own Firebase server, it’s time to update the payment details as well. By default, our e-commerce app templates use our test Stripe account to process payments. You can place orders, but all the money will go to our test account, which is not something you want for your shopping app on the App Store.
If you’re not already familiar with it, Stripe is an online payment processor for Internet businesses. They have an amazing SDK, that works well with native iOS apps. Alternatively, you can use PayPal or Braintree, but our app template doesn’t support them at the moment (if you really want something else, just let us know and we’ll prioritize it accordingly).
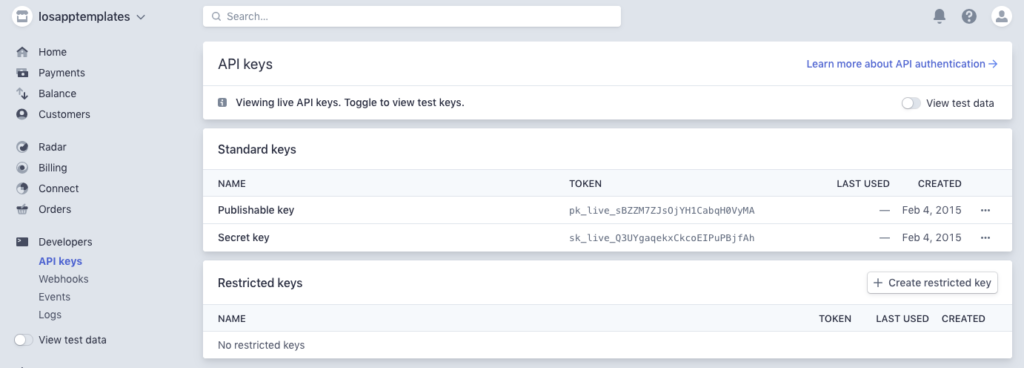
So head over to Stripe and create a free account and a new app associated with it. Once you have your own Stripe dashboard, go to Developers -> API Keys to find two keys: publishable key and secret key.
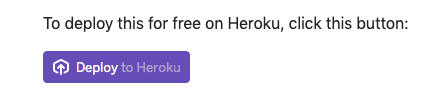
In order to accept payments with Stripe, you need your own secure server for processing payment requests. Fortunately, you can build this for free and within a few minutes, with Heroku. Create a free Heroku account if you don’t have one already. Then go to this Github repo, and Press on the “Deploy to Heroku” button:
Fill in the form, with any name you want, and your API Secret key, from the Stripe dashboard. The press “Deploy app“:
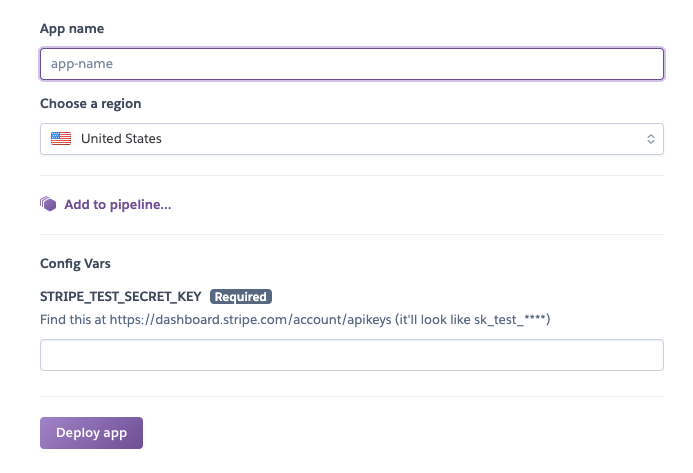
This will deploy your own payment processing server, with a Heroku app URL, similar with “https://apptemplatesios.herokuapp.com“.
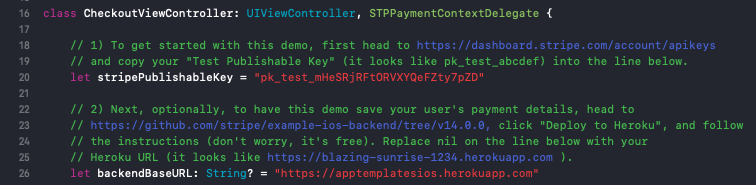
In the template, open Core/Stripe/CheckoutViewController.swift file and replace the API Key & Heroku URL with your own:
Now run the app again, and make a payment, with the test credit card. Once successful, the transaction will show up in the Stripe Dashboard, under Developers -> Logs.
Congratulations. Now your customers can pay you directly, via Stripe SDK.
Enable Apple Pay with Stripe
To enable Apple Pay, you need to create an Apple Merchant ID first, on Apple’s Developer Portal. Once you have a Merchant ID, you can download a certificate generated by Apple and upload it to your Stripe dashboard. Follow these detailed instructions to enable Apple Pay with Stripe.
Once you have uploaded the Apple Pay certificate to Stripe, go to Core/ThirdParty/Stripe/CheckoutViewController.swift and update the appleMerchantID value with your own Apple Merchant ID.