Did you just download our Store Locator App in Swift? Let’s get you all up and running in no time. On a high-level, you’ll need to run the app in Xcode, link your own Firebase backend and add your own categories, filters, and stores. Get started by completing the steps in the first two short tutorials:
1. Run the Store Locator project in Xcode
2. Link your own Firebase backend to the Swift project
Now that you have successfully run the app and been able to register users, you can start adding the Store Locator data into your own database. Let’s start with your main categories.
3. Add your store categories
Go to Firebase Console -> Database -> Cloud Firestore and add as many categories as you’d like. Please make sure that each category has the exact format as below:
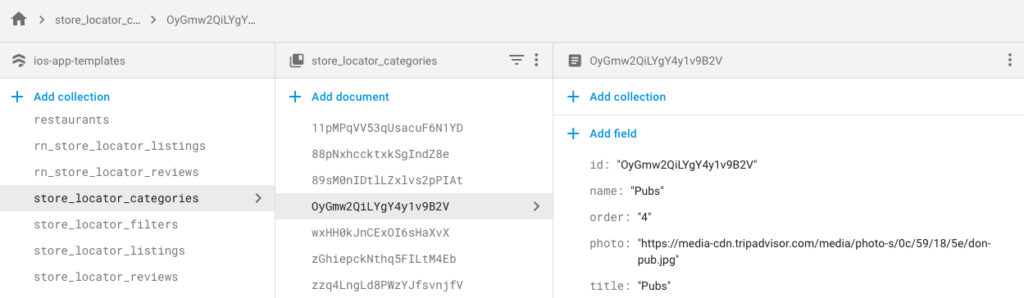
As you can see, you need to create a collection named “store_locator_categories” and then add your categories. For each category, you specify its id (must be unique, you can let Firebase auto-generate it), title, name, and photo (the URL to the category image). Make sure the id matches the id of the document (the middle column above). There’s no limit on the categories, add as many as your app needs.
4. Add your filters
As you probably know already, our Store Locator app allows you to add your own custom filters, which users can search on. These can also show up in the “Extra Info” section of each individual store details screen. Add all your filters in the “store_locator_filters” collection:
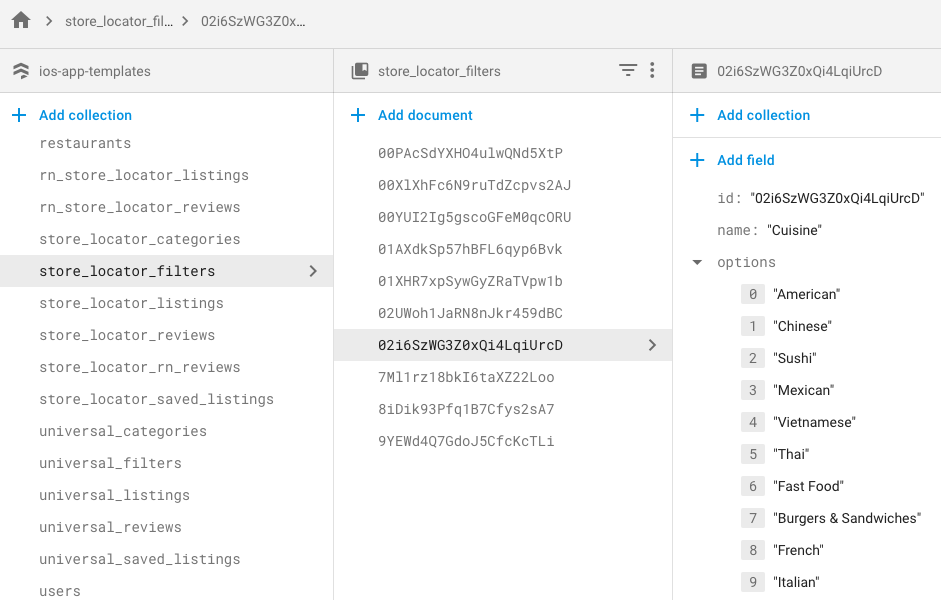
For each filter, you specify its id (must be unique), name and the array of options, exactly as in the image above. Please use the exact structure – misspelling a letter will cause your app not to work.
For each filter, you can add as many different options as you’d like. You can also use an unlimited number of filters.
5. Add your store listings directly from the app
Now that categories and filters are set up, you can open the mobile app, log into an account and post as many store listings as you want, by pressing the compose button, filling out all the fields and complete the flow. For each listing, you’ll interactively specify title, description, price, location, filters & options, and photos. Once you successfully submit a store listing, you’ll be able to see it in Firestore, under “store_locator_listings” collection which gets created automatically:
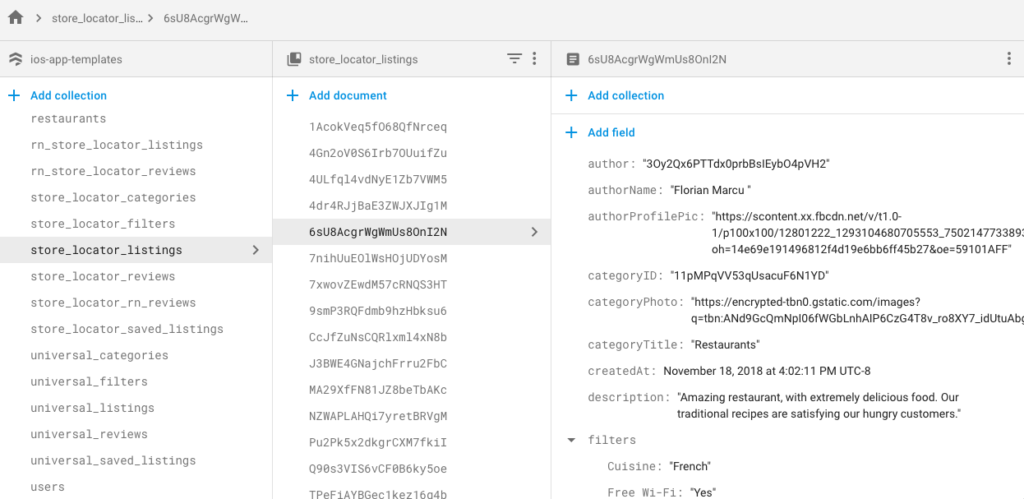
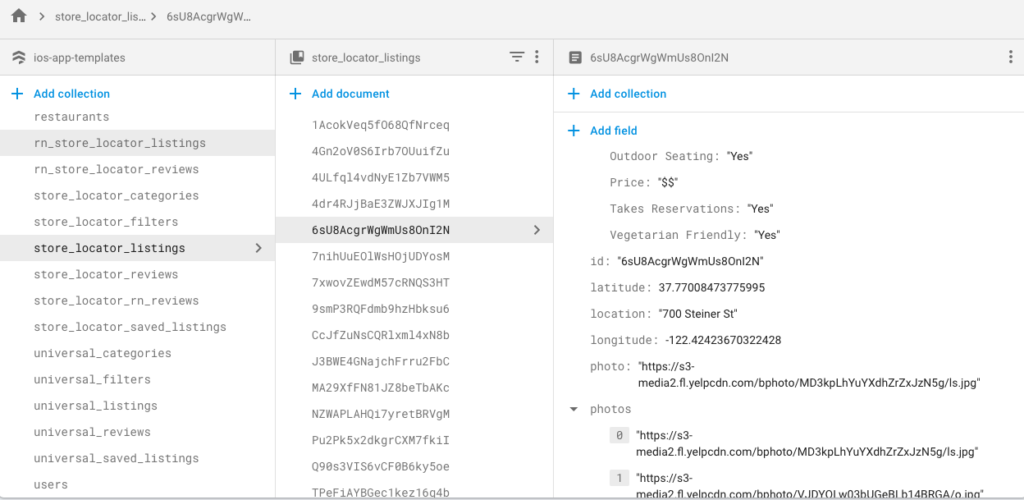
You can modify any fields as you like and the changes will automatically be reflected in your mobile app. Make sure you don’t change the names of the keys to keep the date integral.
That’s it. The next step is to publish your store locator app for iOS to the App Store.