Social Network Template – Launch Your Own Mobile App Today
In this tutorial we describe how to use our premium social network template to build your own social media app in minutes and launch today. High-level steps:
- Download & Run the Xcode Project
- Link Your Firebase Account
- Enable Push Notifications
- Publish to App Store
- (Optional) Make Customizations
To run the template: install pods (pod install), open SocialNetwork.xcworkspace in Xcode and run on a simulator or device. Replace the included GoogleService-Info.plist with your Firebase file and enable Firebase Auth (Email & Facebook) and Storage.
Enable push notifications by uploading the APNs certificate to Firebase and follow the push notification guide.
When submitting to the App Store, provide testers and follow the App Store Submission Checklist (title, description, screenshots, tags, test user account, upload from Xcode).
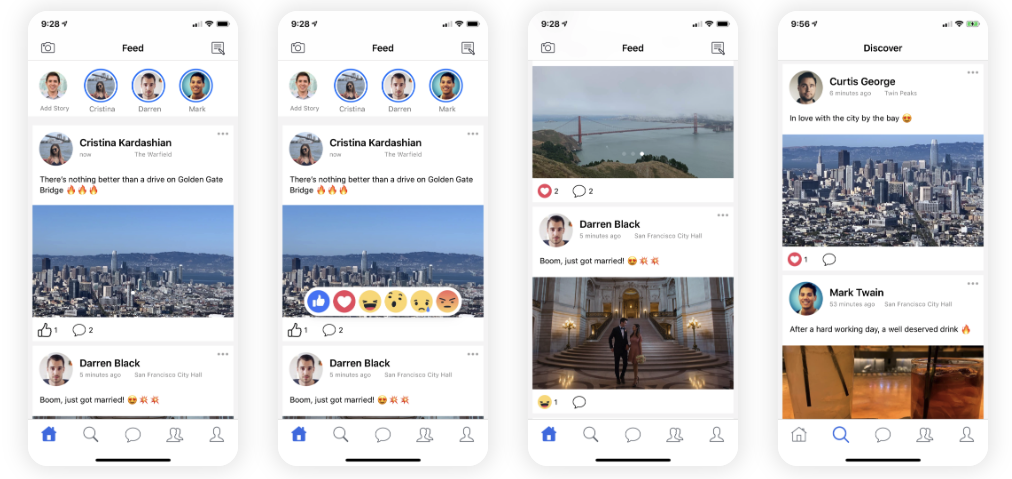
Once configured, create users, posts, stories, likes and test chat features.